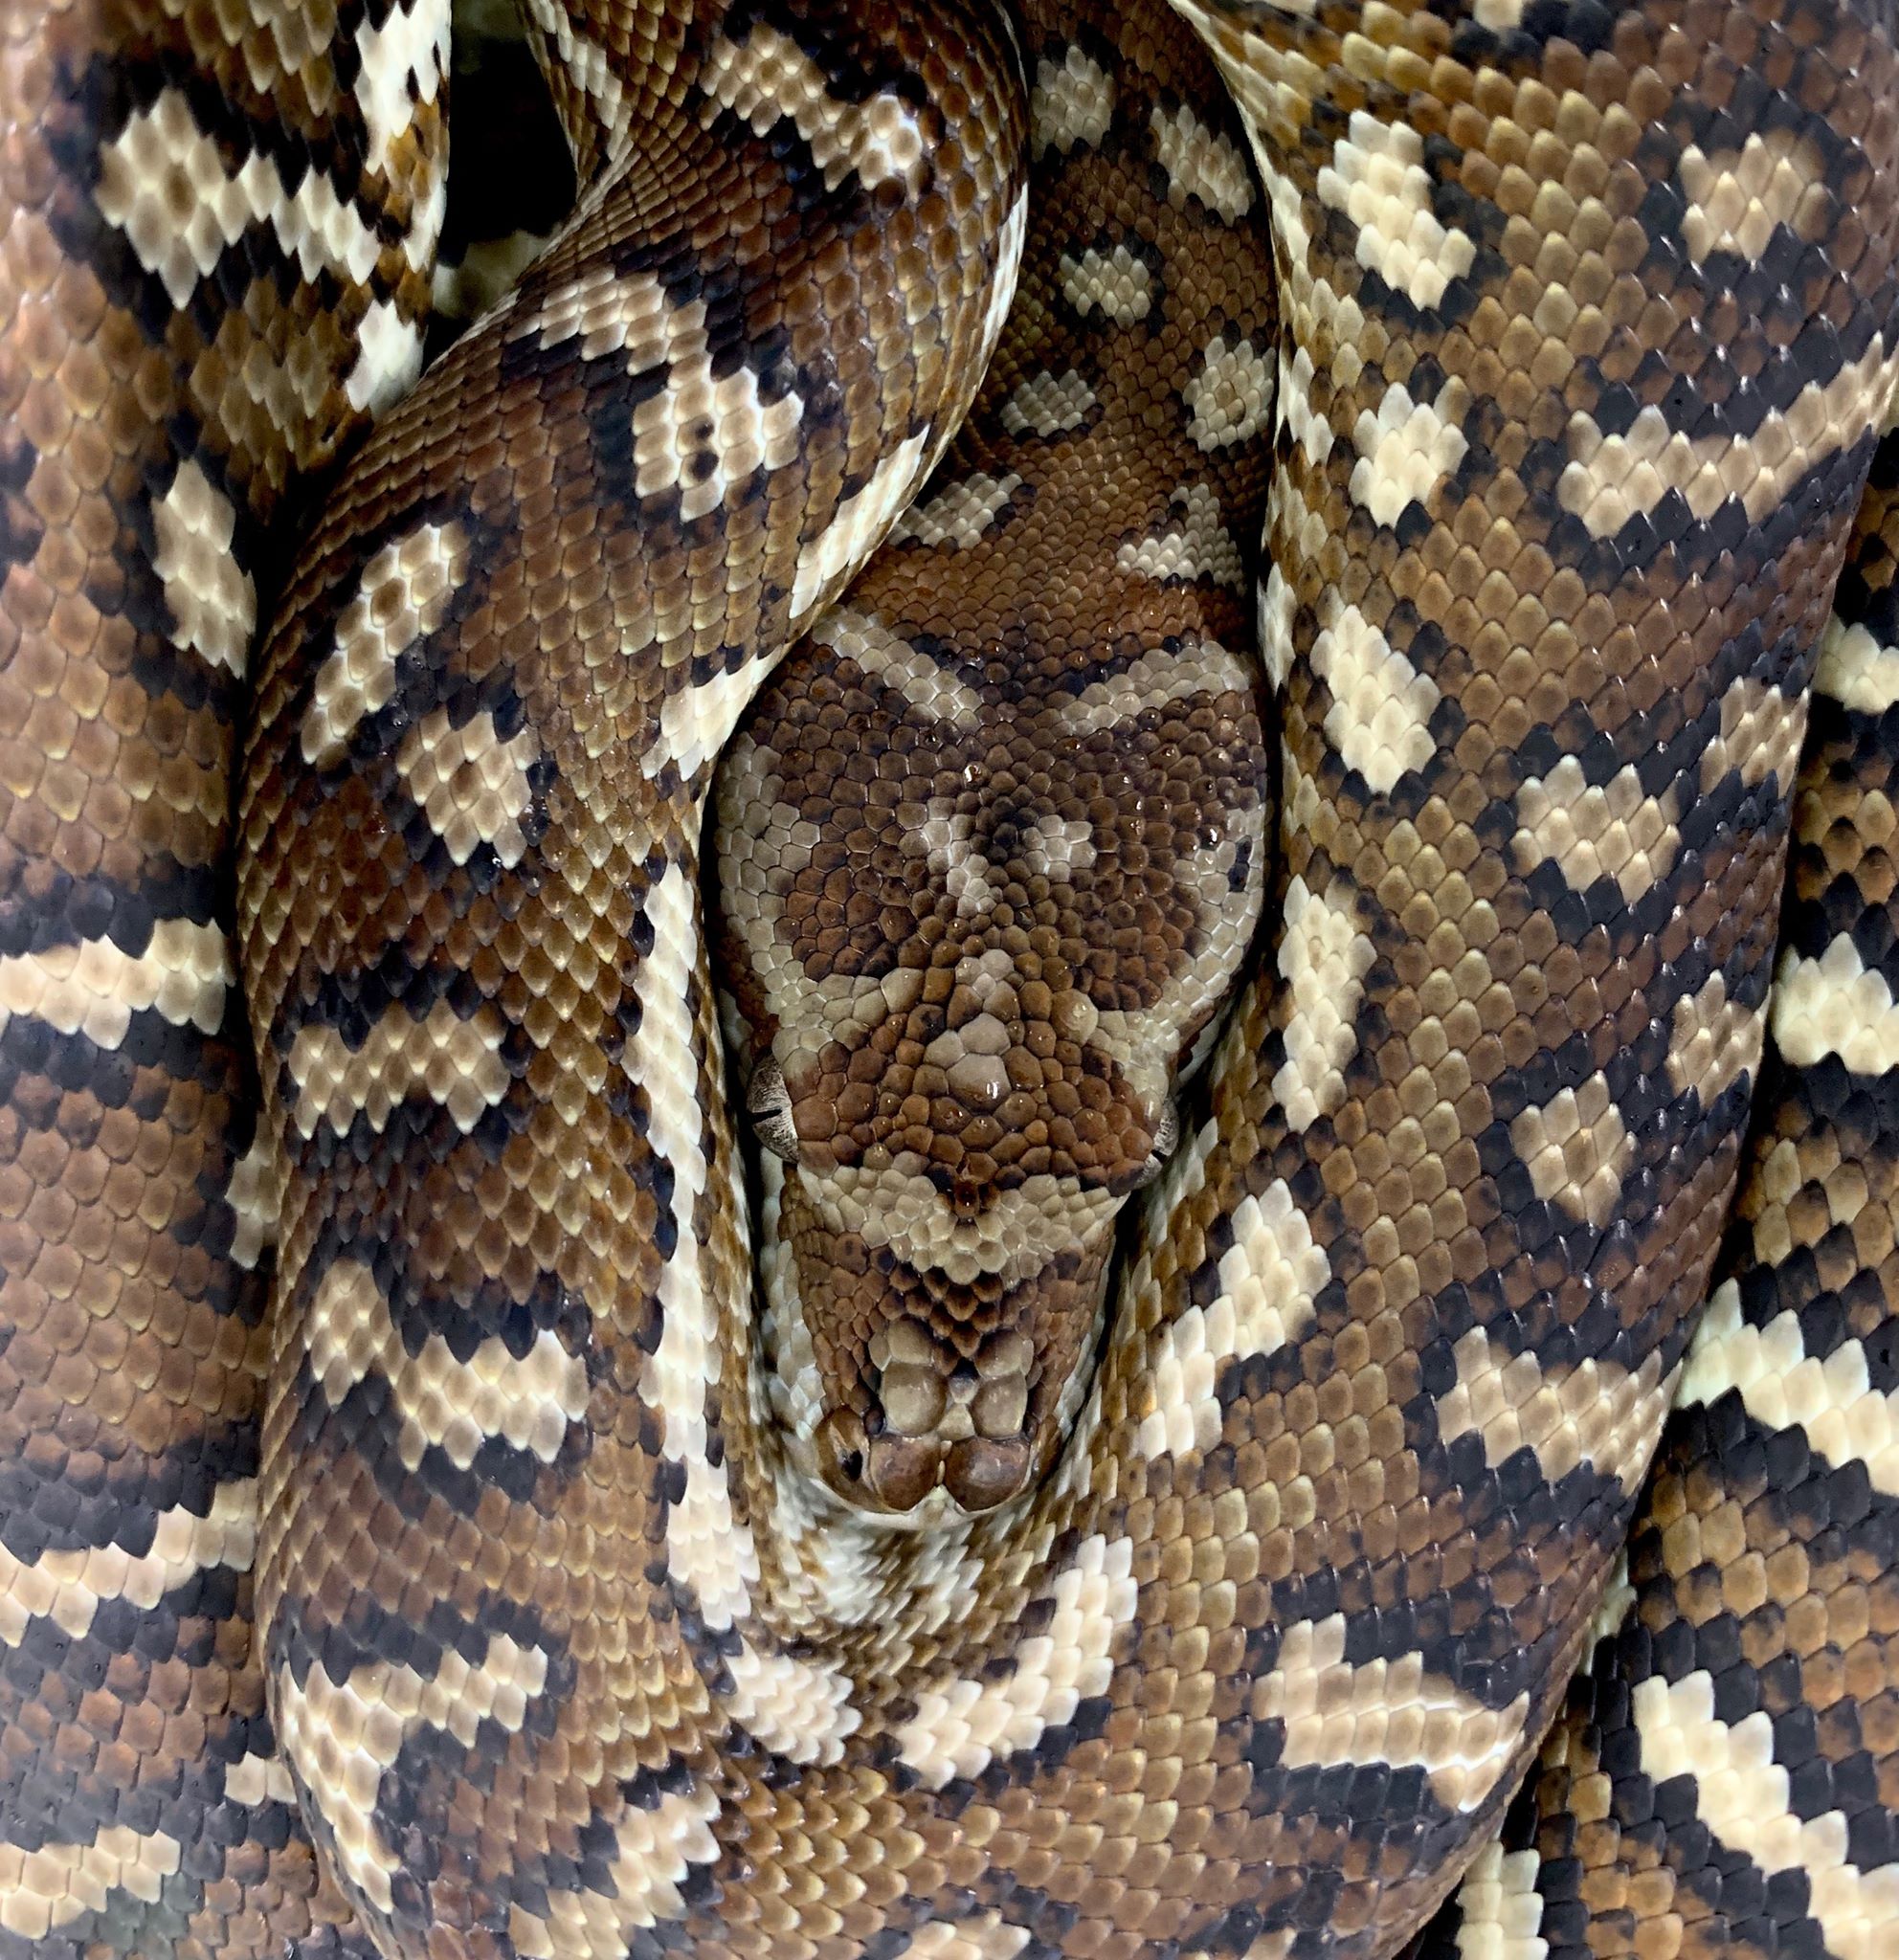
Want to learn how to take better pictures of your reptiles and other pets, but don’t necessarily want to invest hundreds in camera equipment and effort spent learning to use it? Your iPhone / smart phone can do a pretty good job at reptile photography if you follow a few simple guidelines- stay tuned for some useful techniques, as well as some insider tips and tricks.
As many of you may know, photography is a big part of my reptile hobby. I sometimes spend about as much time developing photography techniques, and practicing them on my pets and available animals, as I do practicing the art of herp keeping itself. While I have no doubt invested a great deal of energy into developing my techniques with high end DSLR camera gear (and now mirrorless cameras as well) that does not necessarily mean it’s the only way to do it. Most phones these days have incredible cameras, and they are in fact the most utilized cameras ever. So why neglect them? Smart phones are most people’s only camera, so let’s take a look at how to put them to good use.
More interested in learning Reptile Photography with a camera? For some gear suggestions and thoughts, click here and here. If you just want to use your phone, keep on reading ahead!
First Things First: The Basics of Composition for Reptile Photography (or any other Pet Photography, really)
Before I start getting into lighting techniques or anything else advanced, let’s take a quick moment to cover the basics of composition for photography. Now these are not really “rules” to follow as much as they are guidelines to keep in mind. There are always exceptions and ways to break them that turn out beautiful – part of creativity is knowing when to blaze your own trail. But for this photography tutorial, these basic guidelines will help you begin to get a good grasp of pet photography.
OK, first of all – if you don’t want your image to look like it was taken through a jar of vaseline, wipe off your phone camera lens. Photos tend to look much better without sweat and grease all over the lens, and a lot of people do not even consider this as far as I can tell, scrolling through facebook.
Now, for some actual photography tips. The number one thing to keep in mind, is that you will almost ALWAYS want your subject’s eye in focus. Unless you’re taking close up pics of some other detail – if the eye is in the shot, do your absolute best to make sure it’s in focus. On most smart phones, simply tapping on your subject’s eye on your photo preview will force the phone to prioritize focus on that part of the animal. Our brains are wired to gravitate our sight towards eyeballs, so if the eye is blurry then it ends up being a confusing or messy photo. Many wildlife photographers will say, “If you didn’t get the eye, you didn’t get the shot.”
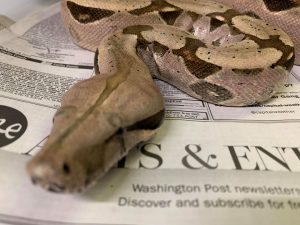
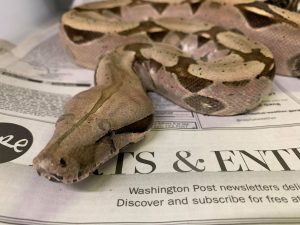
And sort of on the same track as that – you will generally want to try to get shots where the subject, be it a snake, lizard, frog, turtle, whatever – is facing towards the camera. If the animal is turned away, sometimes you can get away with it as long as the head is turned back towards you (for a sort of “over the shoulder” look). Again, these are just guidelines and there are many ways to make a photo work without following them strictly. But generally, for reptile studio photography (and wildlife photography as well) we want images of animals facing the camera, not turned away in flight with their butts facing us. But by all means, if you see an opportunity to break this rule and make it work- go for it.
Now this next reptile photography “trick” may seem sort of obvious and not really a trick at all. It isn’t. But I’ve seen some, well, let’s just say, “interesting” photos before, so maybe I need to mention it. Generally, if you’re trying to get a full body pic to show off the animal, try your best not to cut off any part of the animal. It just looks messy and unprofessional when you have a nice shot where 90% of the animal is in frame and then you’re missing one foot, or part of a tail. Or even worse, part of your subject’s head is cut out of the photo. For close up shots, obviously you can crop in as much as you want. Try to find natural crop points that do not intersect vital parts of your subject’s anatomy. I try to look at it like this: If more than three quarters of the animal is in frame, the rest of it should be as well or it just looks like something is missing. If it’s a close up, use your best judgement to not cut through the very middle of anything important when cropping.
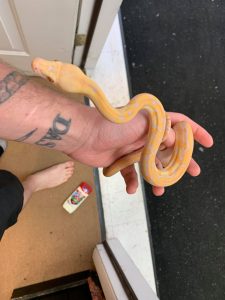
And lastly, always remember to look past your subject and keep in mind what’s behind it. Our brains may filter out distraction because we are focused on the subject of our photograph, but the camera will still stubbornly capture everything that happens to be behind your subject as well. Keep your backgrounds in the back of your mind as you compose your shot. Nobody wants to see your dirty floor, naked feet, messy bathroom, etc in the back of your shot. Find a pleasant background of some sort that compliments your animal – think a nice natural backyard with trees and grass, maybe a piece of bark if taking close up shots, or some moss, or whatever you think might look nicer than your shirtless, hairy chest as you hold up your pet snake proudly. If you have no other option, a simple blank, neutral colored wall can make a pleasant background that shifts the focus entirely onto your reptile photography subject. I have had good results using a blank white sterilite/rubbermaid lid that came with the bins I use in my reptile rack systems.
Technique #1: Natural Light
Most phones are calibrated to reproduce beautiful colors under natural sunlight. So let’s put that functionality to good use! Some of the best reptile pictures you will take, will be lit by the simplest option- the sun. First off, remember: never bring reptiles outside if it’s too cold or too hot – your animals’ health is more important than a photograph. But if the weather permits it, simply stepping outside into the daylight will make a huge difference in how your photo turns out.
This is because of two reasons:
First, the sun is simply much brighter than your indoor lights. You may not notice this, as your eyes naturally adjust to the difference in lighting, but it’s several times brighter outside during the day than it is even in a moderately lit room. Your phone will be able to automatically adjust to snap a quick, sharp photo due to the abundance of good light.
Second, as mentioned earlier, your phone is generally calibrated to handle the color temperature of daylight very well. In photography terms, this is called the “White Balance.” The sun is a fairly even 5500-6000K or so right in the middle, with 3000 or below being very “warm” (yellow tinted) and 8000 and above being very “cool” or blue tinted. You will notice that many indoor lights tend to be very yellow as they are a lower color temperature. Your camera phone will adjust but it is not working at its prime here, so the colors will not look quite as good overall. Keep in mind though – during the early morning and the evening, the sun’s light tends to be very warm – hence photographers calling this the “golden hour.” Great for beautiful portraits, but not really the best for reproducing reptile colors properly.
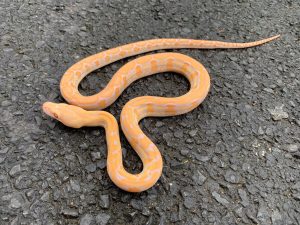
One neat trick to getting nice even looking photos is utilizing “diffused” outside light wherever possible. Simply put, diffusion is spreading the light out over a larger area so it’s “softer” and produces less harsh shadows. If you take your photos in the shade, you’ll get the benefits of that perfect color outdoor light without harsh shadows forming. If the sky is overcast, this is good too! The light from the sun is diffused by the clouds and tends not to cause any harsh shadows that way either.
If it’s too cold and you can’t go outside, you can still get great results by setting up near a big window. Depending on the angle, you can get some great artsy or moody shots this way.
One thing to keep in mind is to watch your shadows, too. If your snake is bathed in beautiful light and then your body forms a shadow, it can ruin the photo.
Technique #2: Artificial Light
So what if it is night time and we do not have the sun’s precious rays to help us out for our cell phone reptile photography? Or maybe you live in an arctic climate and outdoor photos are completely out of the question. This is where the miracle of technology comes in to save us.
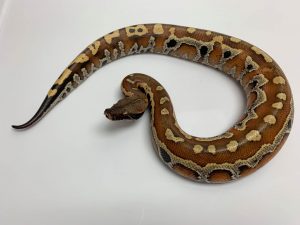
If we want our photos to look as nice as if we had taken them under the sun, then we’ll need lighting that simulates that sunlight. Most light bulb packaging will list the color temperature of the light. If you want nice warm lights, perhaps for a living room or den, go for low temperature like 3500K. Way up in the 10,000K range would be very blue and cool. I have found the best results for cell phone photography with mid range lighting, about 5500-6500K. This seems to match up with natural daylight well and our cell phone cameras compensate for it nicely.
I prefer to use compact fluorescent bulbs or LED daylight bulbs for my indoor reptile cell phone photography.
So we’ve gone over the basics of composition and how to utilize our available light in the best way. From this starting point, I’m positive that with a little practice, anybody can take a great picture with their cell phone camera. Reptiles are amazing subjects so half the hard work of finding a good photograph is already done – all that’s left is for you to use your tools to take that photo.
Feel free to upload your best cell phone images to the comments below! I’d love to see them.
~Mike

