Do you want to push your reptile photography game up to the next level? Tired of shooting in “Auto” mode and hoping your camera knows what you’re going for? (Hint: it doesn’t!)
I’m here today to teach you the critical fundamentals of the Exposure Triangle that professional and amateur photographers both use literally every time they pick up their camera – whether they’re photographing reptiles, or anything else.
This is intended to be a very basic digital photography crash course for those interested in taking higher quality pictures of their reptiles, amphibians, or other pets. If you already know how Aperture, Shutter Speed and ISO work, you might not need this article, but feel free to skim through it either way. Photographing reptiles can be as simple or complex as you want it to be, and you never know – I might just drop a little nugget of knowledge that will help you out that you didn’t know you were missing out on!
The Exposure Triangle as it Relates to Natural Light Reptile Photography
The “Exposure Triangle” refers to the three vital settings that will affect the exposure of your image – Shutter Speed, Aperture, and ISO speed. These three settings all affect the image in several ways, each having its own pros and cons. They are intrinsically linked and interact with each other in a way similar to Rock/Paper/Scissors. Mastering this balance is essential to taking photos of reptiles in Manual mode.
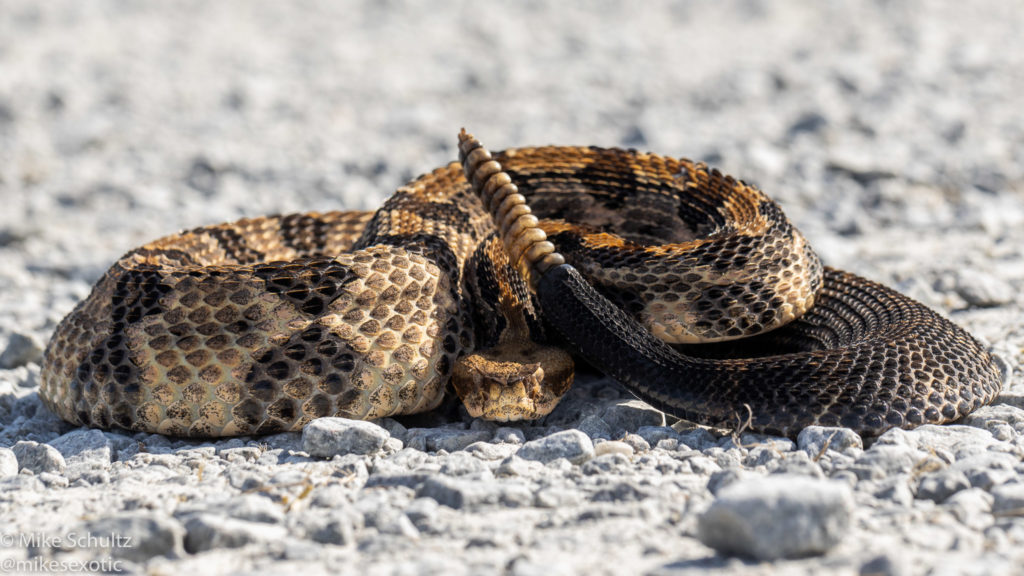
These three settings will need to be adjusted in order to expose your image properly, depending on the amount of light present. For reptile photography, most people typically use a flash or a bright light on their photo setup, so that the lighting is always consistent. But there are many situations where we might use “natural” light (the ambient light that’s already there, whether you’re outside, or shooting near a window).
We’ll go over variations on our exposure technique according to different lighting situations, but first let’s lay out the very basics.
Shutter Speed
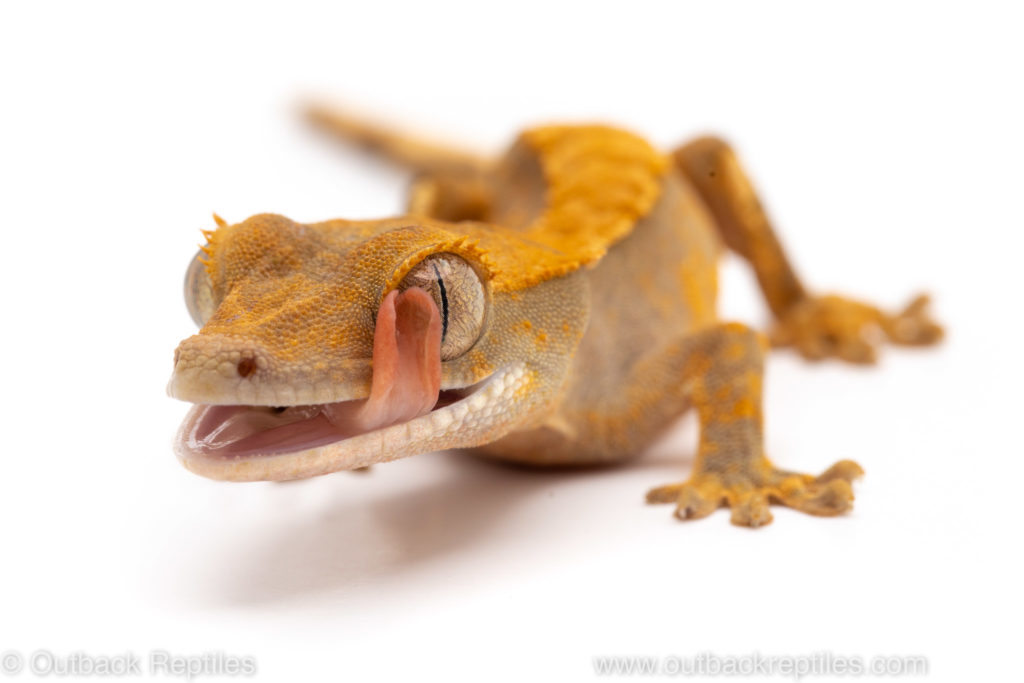
Every time we take a picture, the “shutter” inside the camera opens and closes rapidly in order to expose the image on the camera’s light sensor. The shutter can open for tiny tiny fractions of a second, all the way up to several seconds or even minutes. Shutter speed is measured in fractions of a second – 1/200 = One 200th of a second, 1/50 is one 50th of a second, 1/1 would be one second, and so on. The amount of time the shutter is open will affect your exposure by varying the amount of light that hits the sensor. Think of it like a hose- the longer you hold the faucet open, the more water comes out.
Now, the longer the shutter is open, the more light hits the sensor, resulting in a better image, right? Well, that depends. If there is any movement in between the time the shutter opens, and the time it closes, then this will result in “motion blur.” Motion blur can occur because of either the subject moving (common in reptile photography, or any live animal photography) or because the photographer moved. I know I am pretty rock steady holding a camera but even tiny movements will cause blur, especially when using macro lenses to take photos of small animals.
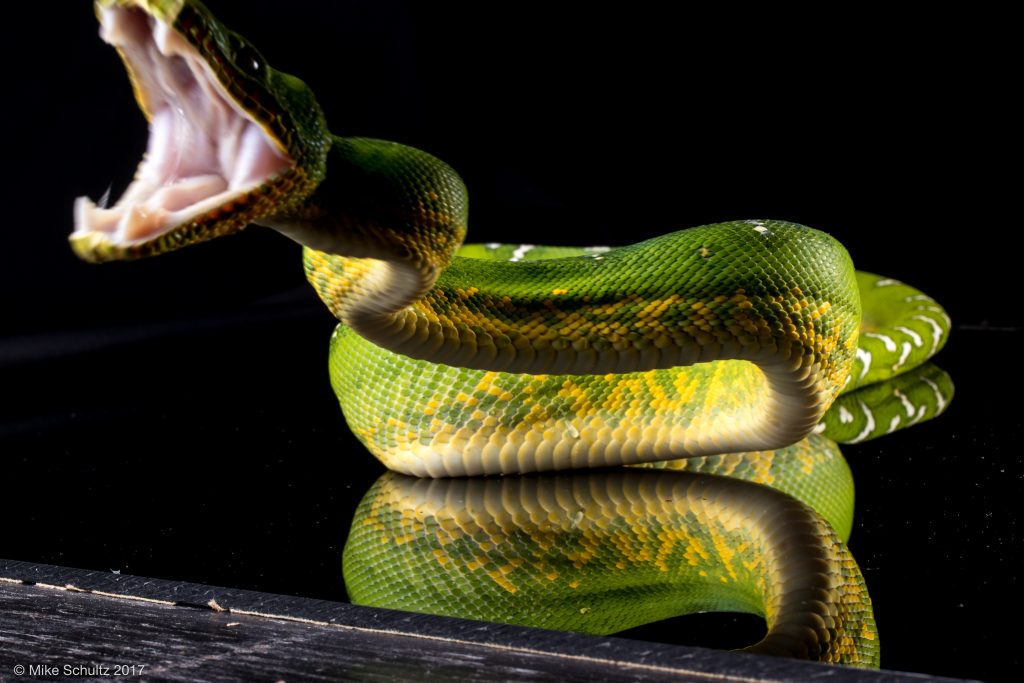
Typically, especially when photographing reptiles, the goal is to use the shortest shutter speed possible, while still allowing enough light into the camera to produce a good exposure. This can be accomplished through a few methods – adding additional light to the scene (flash, static, or natural) or by adjusting the other two settings in the exposure triangle- aperture and ISO.
Aperture
In addition to the shutter mechanism in the camera, there is another opening inside the lens itself that can be adjusted. Aperture is the size of a round opening that can be adjusted by the photographer to let more or less light into the camera. The aperture aperture physically controls the amount of light that enters the camera based on the size of the opening, controlled by little blades, unlike the shutter which simply controls the duration that the light may enter. Back to our hose analogy – Aperture is how wide the nozzle is, and shutter speed is how long you open the faucet.
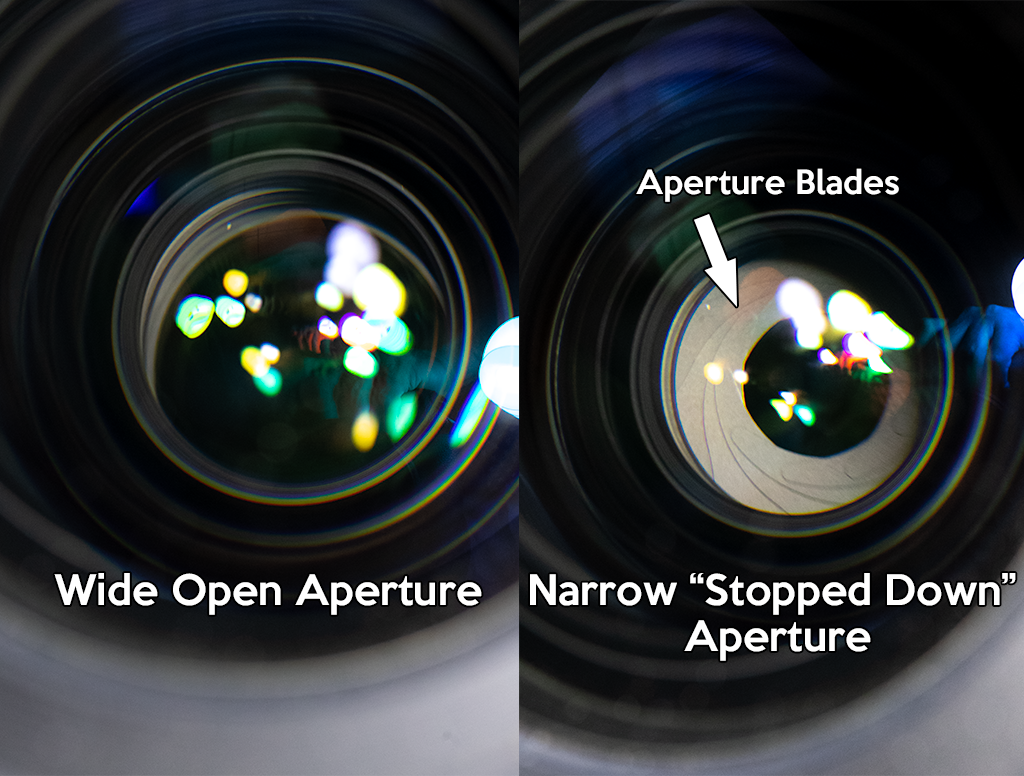
In the simplest terms, wide aperture means more light and narrow aperture means less.
Aperture is measured in… well, math (A ratio resulting from the size of the aperture opening as it compares to the length of the lens) and the resulting numbers we get are referred to as F-stops. Lower F-stop numbers mean a wider aperture. Examples: F/1.8 is a wide aperture while F/8 is smaller / closed off more. Photographers refer to opening or closing the aperture as “Stopping up” to open up the aperture a bit or “stopping down” to close it a bit.
So how does this relate to the exposure triangle? Well, as we might need a faster shutter speed in order to freeze the motion of our unsteady hands, or a moving reptilian subject, that means we’ll need more light in order to expose the image correctly. Opening up the aperture (adjusting from a higher F-stop, to a lower F-stop) will allow more light to enter the lens, which in turn means we can use that faster shutter speed that we need.
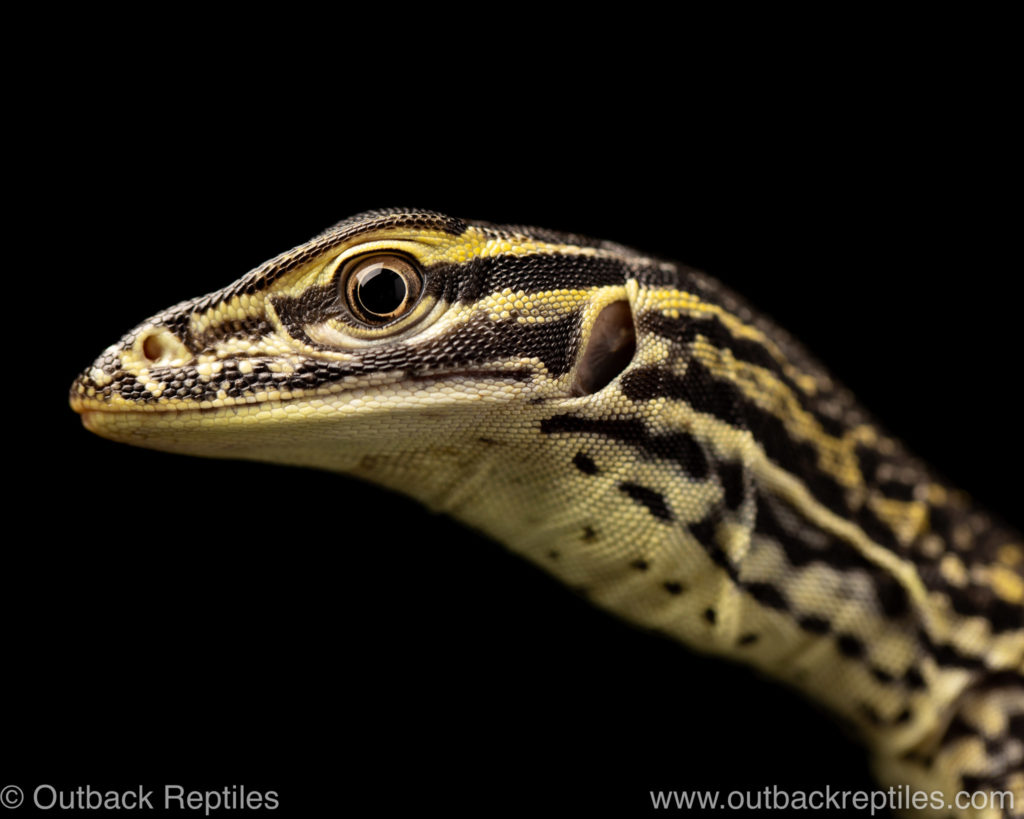
Now like I mentioned earlier, each setting has a tradeoff. The wider the aperture, the thinner the depth of field we will have in our image. Depth of Field (DoF) measures how much of the final image will be in focus. Ever seen a portrait where the subject is crisp and clean while the background is buttery smooth and out of focus? This is because that image was shot with a thin depth of field, resulting from a wide aperture setting. Whereas a big, bold landscape shot of the Grand Canyon would have a very wide depth of field resulting from a smaller aperture.
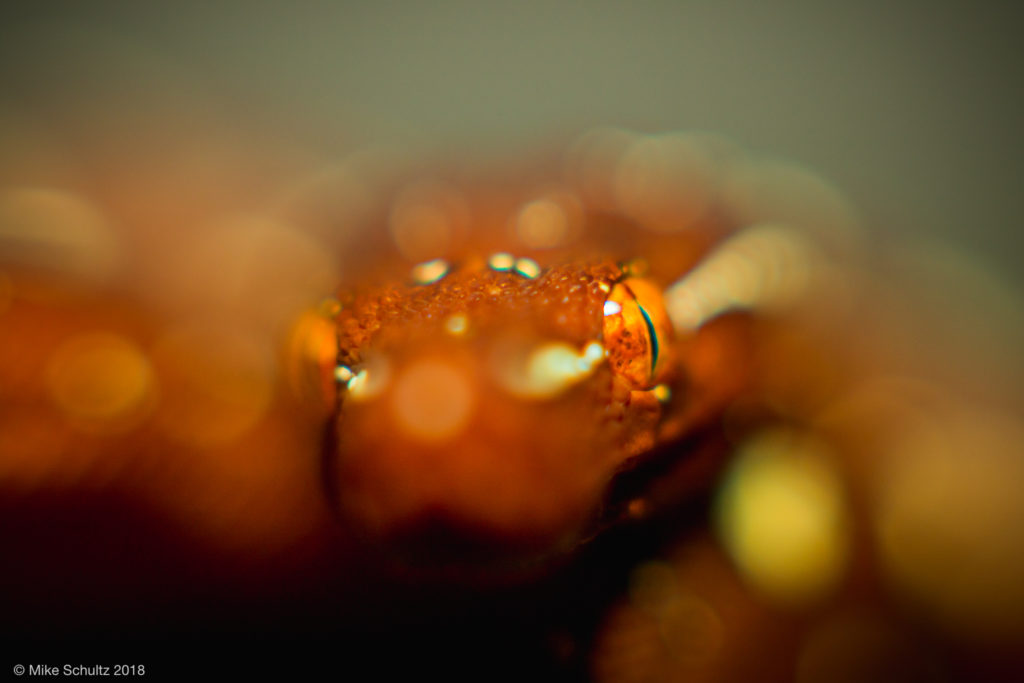
The science behind exactly why adjusting the aperture setting changes the depth of field is a bit complicated and beyond the scope of this article, but I’ll do a write up on it in the future.
For reptile photography, the choice between a thin or a wide depth of field is an artistic or practical decision. Sometimes we might want a thin DoF in order to isolate the focus of the image onto a specific feature that we’d like to highlight in the image. Other times, we might want a wide depth of field in order to show off as much detail as possible across the entire animal. In my advertisement/stock photos of reptiles, I typically shoot with a wide depth of field so that my customers get a clear view of the entire animal. For artistic shots I may go either way depending on what i’m trying to do.
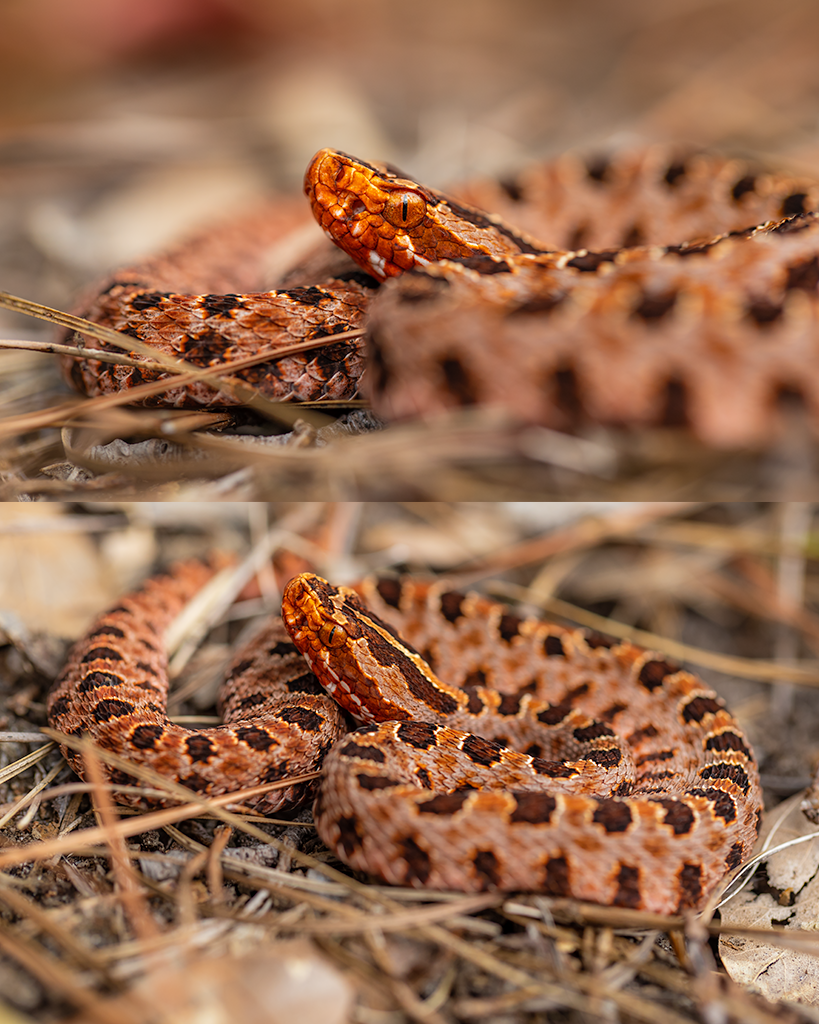
Now we know how to adjust the shutter speed and aperture to work with each other in order to get a clean exposure – but what if we have the fastest shutter speed we can achieve, but in order to get enough light to the sensor, the aperture setting needs to be so wide that we lost the depth of field we want for the shot? Is there a way to get a fast shutter speed while still using a smaller aperture? Read on, my reptile photography padawan learner…
ISO
ISO is the third puzzle piece in this little jigsaw we call the Exposure Triangle. In simplest terms, ISO is essentially a sensitivity control for the camera’s image sensor. The higher we crank the ISO, the more light the sensor picks up- meaning a brighter exposed image.
When we need a fast shutter speed (less light) and a smaller aperture (less light) that is when we raise the ISO setting- because we need the sensor to become more sensitive in order to take in the smaller amount of light.
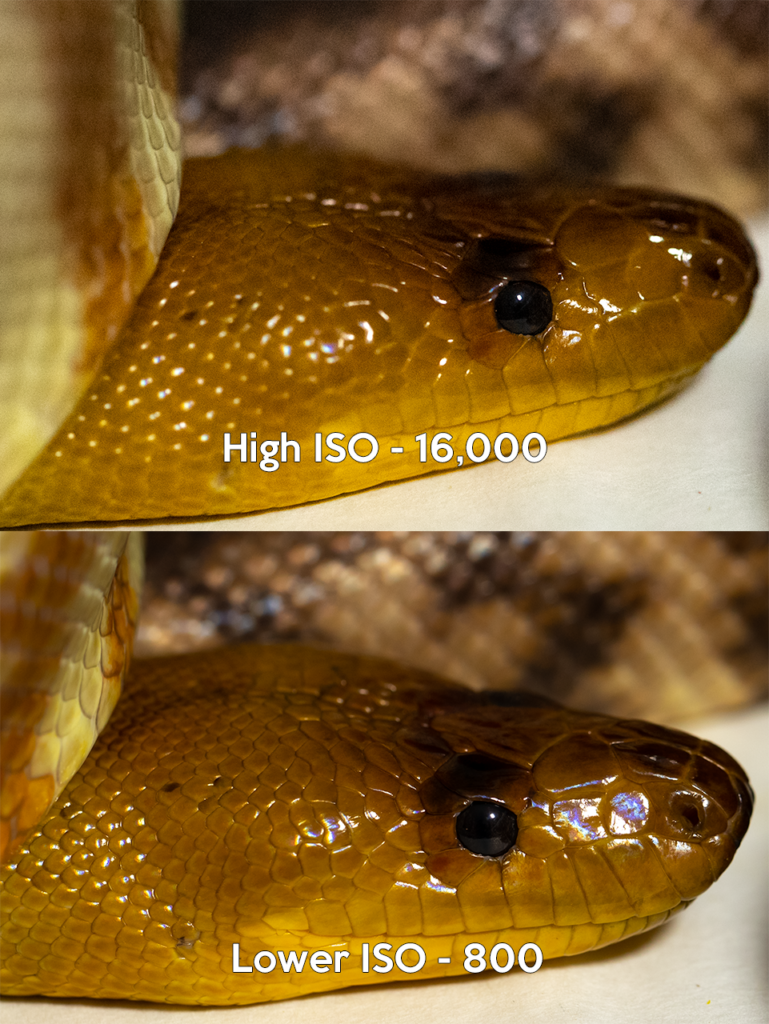
This way, we can be relatively creatively free in how we utilize shutter speed and aperture without worrying as much about how they affect the lightness of the final exposure itself. However, there is a drawback to raising the ISO. As the camera sensitivity is increased, this increases the amount of “noise” in the final shot. At a low ISO, images tend to be very clean, while increasing that will introduce more and more “grain” to the image. Most modern cameras are pretty good at producing clean images even at higher ISO settings, but there is always going to be that drawback no matter how good our equipment is.
What do the letters ISO stand for? It’s not important to the function of the camera, and most photographers (myself included) learned it at one point and forgot. In fact, I just googled it, and ISO apparently really should be “IOS” anyways? Who knows why they mixed it up for the camera setting? Certainly not this humble snake photographer.
Flash / Artificial Light
Now that we have a basic understanding of how each of these camera settings affects our final image, and how to adjust them in order to work together… Let’s introduce a fourth factor to worry about! Just kidding – it’s not that difficult once we practice the basics a bit.
Now when we start modifying our own light sources, we’ve essentially gone from an exposure triangle to an exposure square. But that doesn’t mean it’s any harder to accomplish our reptile photography goals here.
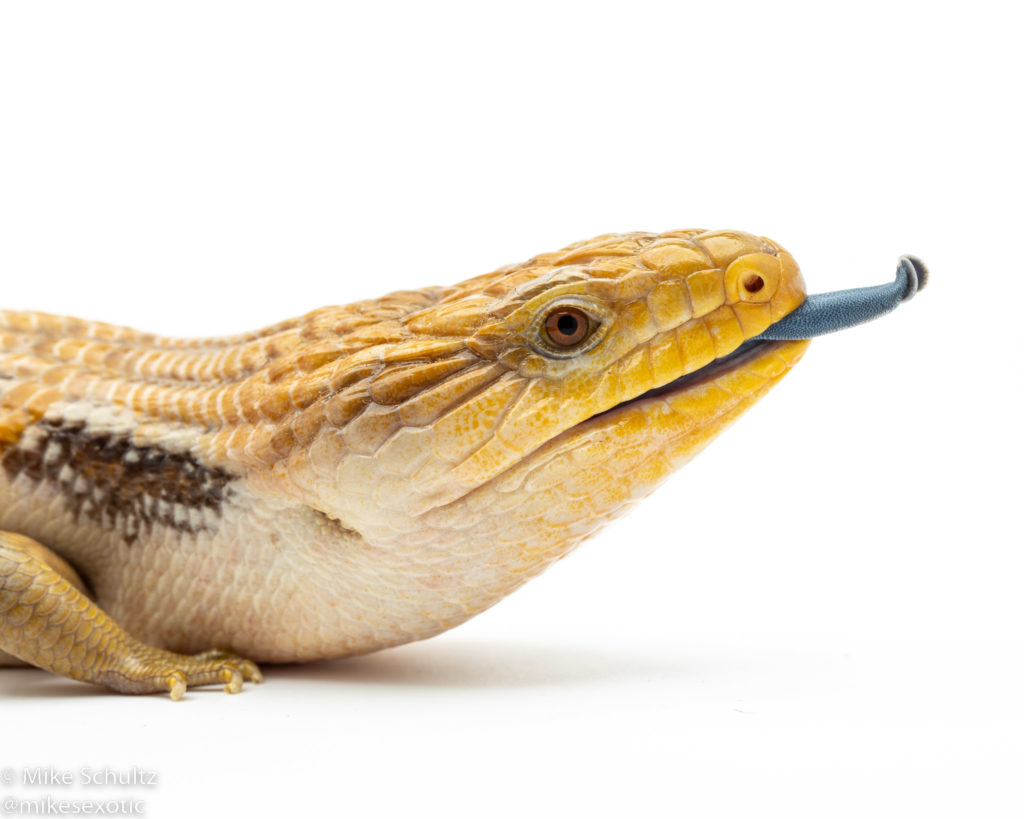
Say we have the perfect shot – Shutter speed of 1/200 to freeze the motion of our subject, Aperture at f/8 in order to get the perfect depth of field, and… Oh no. In order to expose the shot properly with the natural ambient light in this hypothetical room, I’d need an ISO of 12,800… Holy Grain, batman! That’s just not acceptable. Are we going to sacrifice a bit of depth of field, or risk motion blur in order to get this shot we want?
This is where many of us who might not want to compromise in this situation, and that is where artificial lighting comes in. Now the specifics of how to use flashes, static lights, softboxes and other modifiers, etc. is another topic we’ll address in another article. But the very, very basic notion is this: Add in artificial lighting, and we can get away with those camera settings we want without cranking the ISO up so high the image looks like it was taken on a gameboy camera.
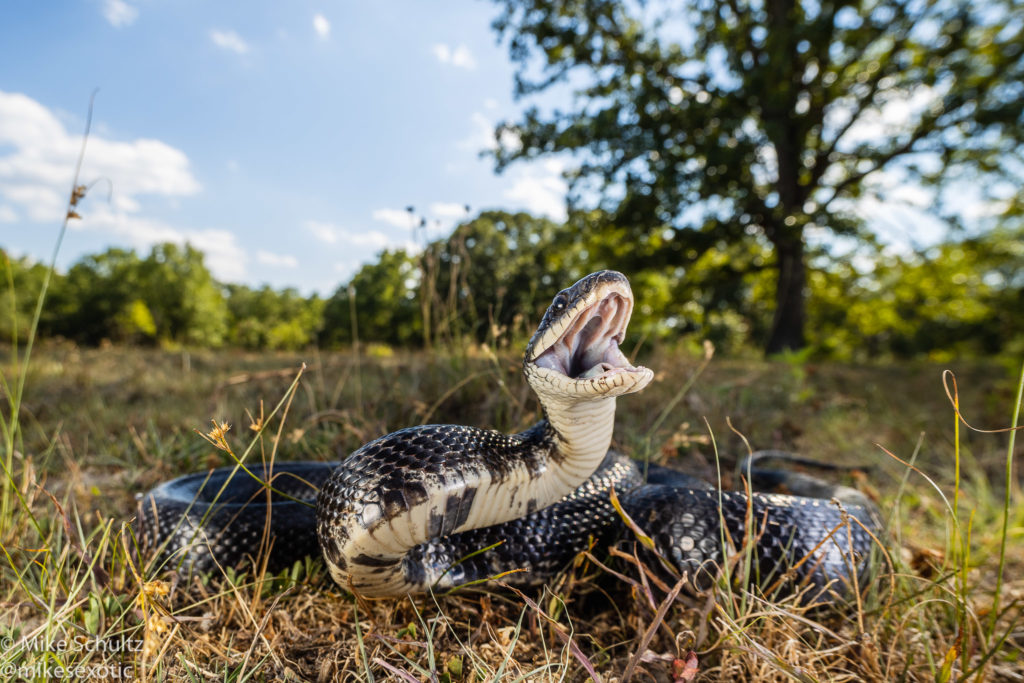
I use flashes myself, so that I can get sharp, crisp images at a low shutter speed, f/8 to f/11 and ISO all the way down at 100 – where the images are the cleanest. With natural light alone, I’d often find myself way up over ISO 12000-25000 to get those pictures and I’d be risking motion blur in the process!
Reptile Photography Homework
I know this “simple” tutorial may seem like it went into a sort of deep dive – but I promise this stuff is easy to pick up with a little bit of trial-and-error, practice and a bit of experimentation. Simply reading a wall of text here is the first step- but nothing beats practical application when it comes to learning new skills!
Your homework: Try photographing your reptiles under different lighting conditions, then adjusting the settings and seeing how your adjustments affect the final image. Adjust the shutter speed and see how low you can get it before you start noticing blur. Adjust the aperture and watch how the depth of field is affected. Then get creative with it and see what cool new compositions you can create now that you harness the power of manual mode!
For some gear suggestions click here for basic gear selection. Or click here for more detailed lens comparisons.
For info on my favorite affordable reptile photography lens, click here.
