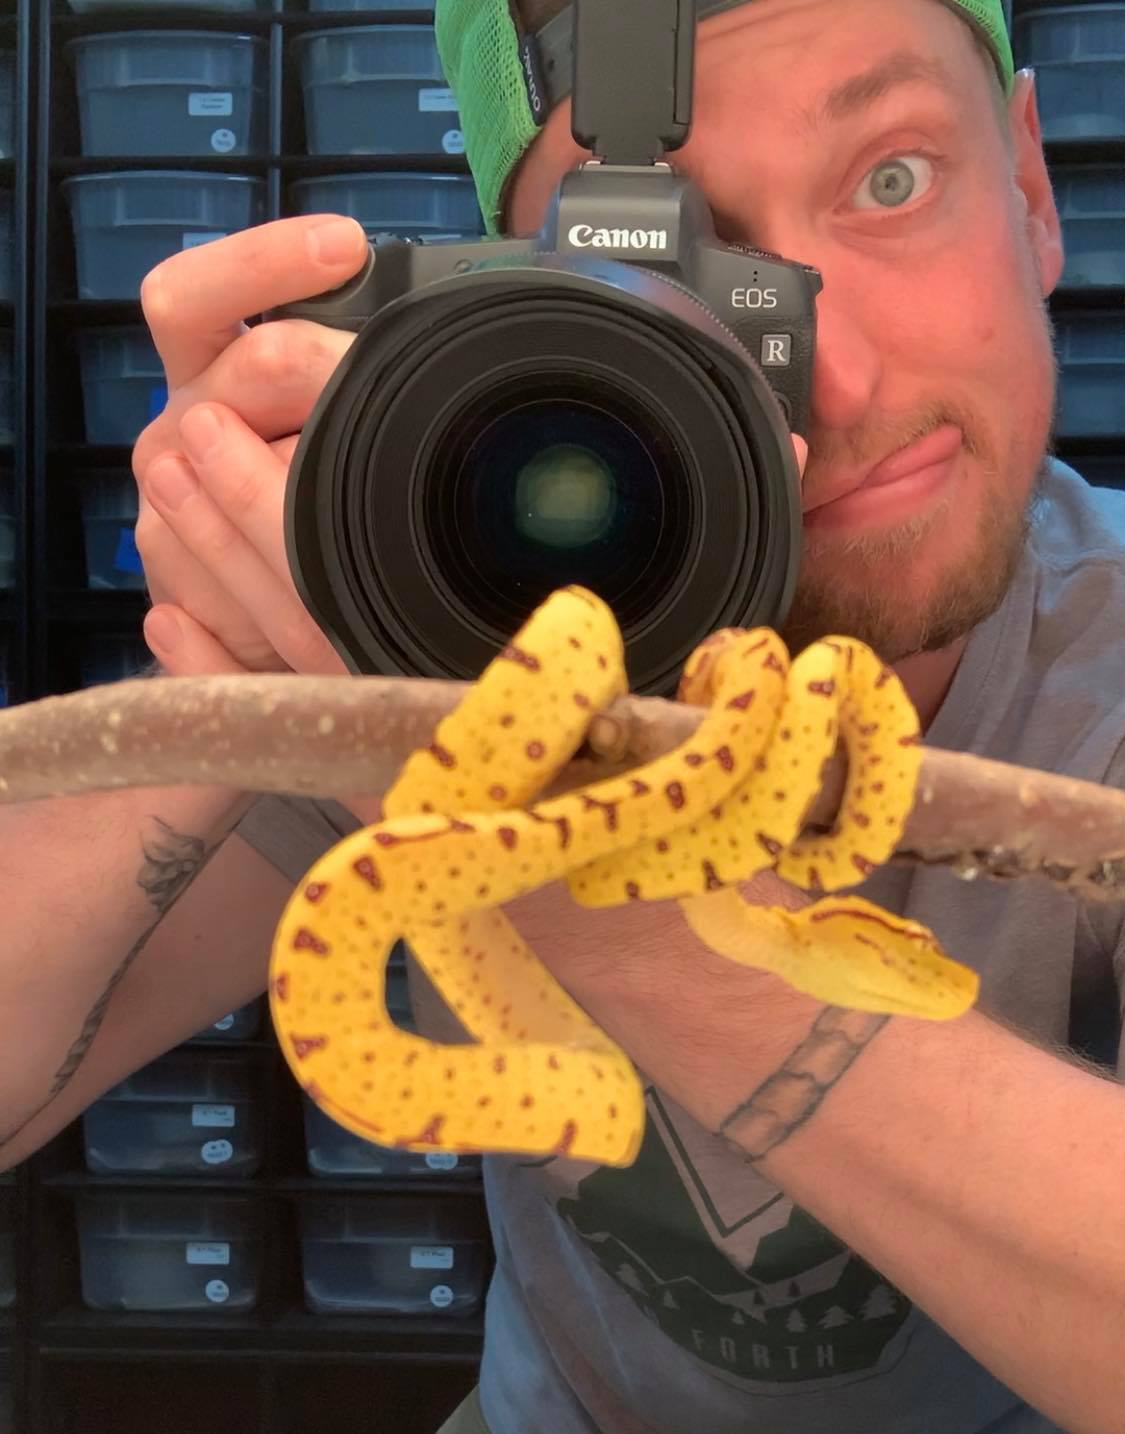
Good morning class! For today’s quick reptile photography tutorial – here are my top 8 reptile photography tips and tricks for great images. For this guide I am going to assume that you know the basics of photography and how to work your camera; these tips will be more catered to the art of reptile and exotic pet photography specifically. Your shots will be on the cover of National Geographic in no time!
1. Know your Subject
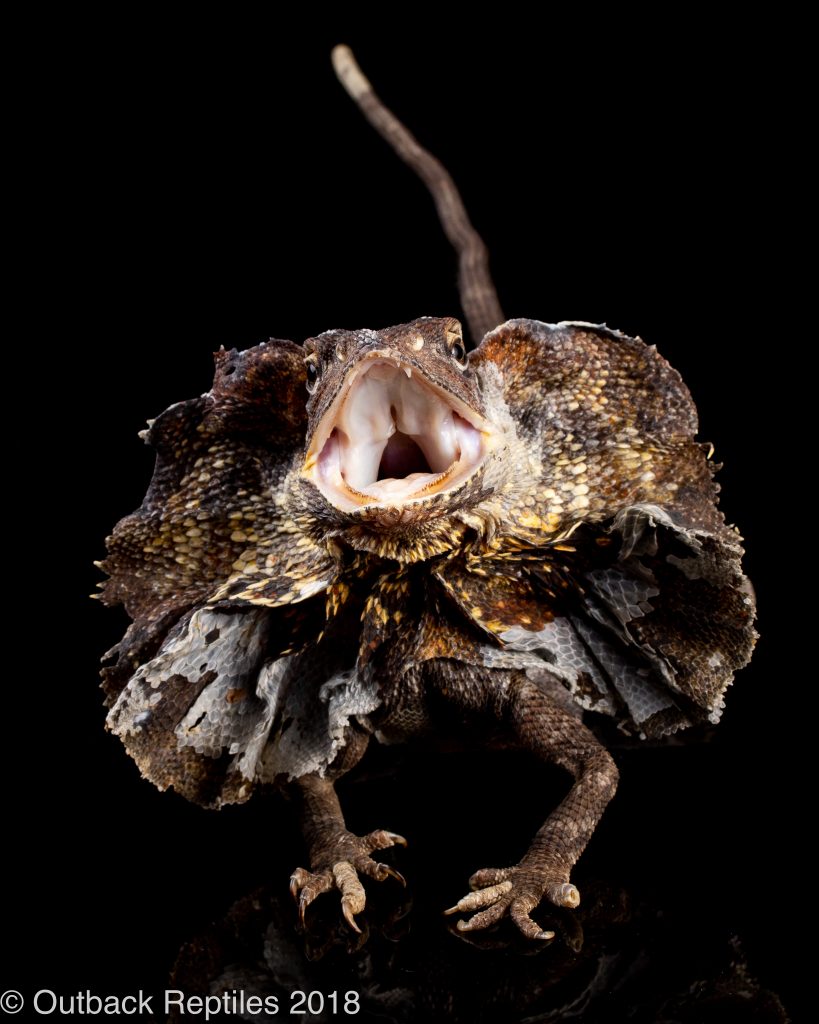
The most important part of reptile photography is knowing about the animals you are working with. Understand their behavior and you will be able to capture unique moments in time that other people may not even know about. It’s our job as photographers to share with the world, what we are seeing through our own eyes so that they can experience it from the comfort of home.
One great example- Hognose Snakes are known to ‘play dead’ as a defense mechanism against would-be predators. Without a good photographer to document this fascinating behavior, many people would never get to experience it at all!
Understanding animal behavior is perhaps most important for those wishing to photograph these creatures outside the studio, in their natural habitat. You’ll need to be able to find wild reptiles if you intend on photographing them! Knowing where, when and how to find your subject is more important than any gear or technique tips I could possibly offer, but once we have that under control we can move onto these next tips…
2. Focus on the Eye!
In pretty much any situation where an animal’s eye is visible in a photograph, it should be in focus. When we look at an animal, our brains 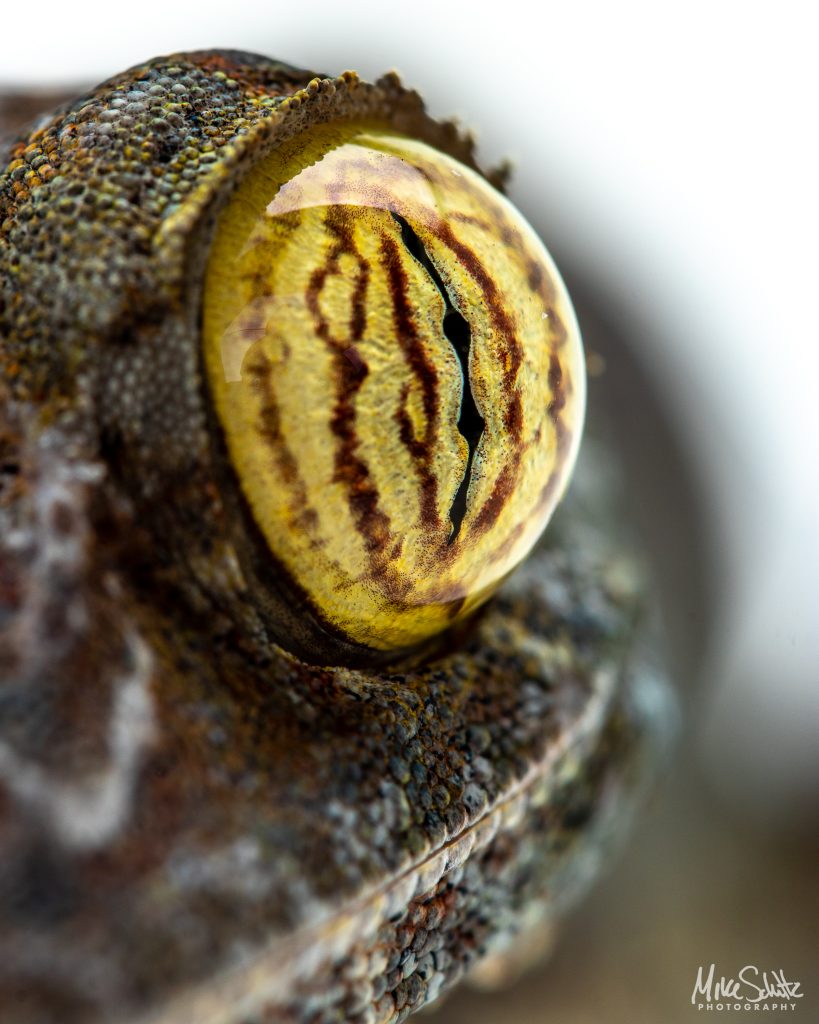 are hard wired to seek out eyes and other recognizable features. So if you take a photo of a ball python or a gecko or something and its eyeball is blurry, it will be distracting and take away from our enjoyment of the image. Plus, a nice, sharp, round eyeball is just so aesthetically pleasing!
This is, of course, a rule that is meant to be broken in some creative instances- so feel free to disregard if you have a cool idea in mind. It might work and it might not – but it doesn’t hurt to experiment!
3. Use Flash for Sharp Images
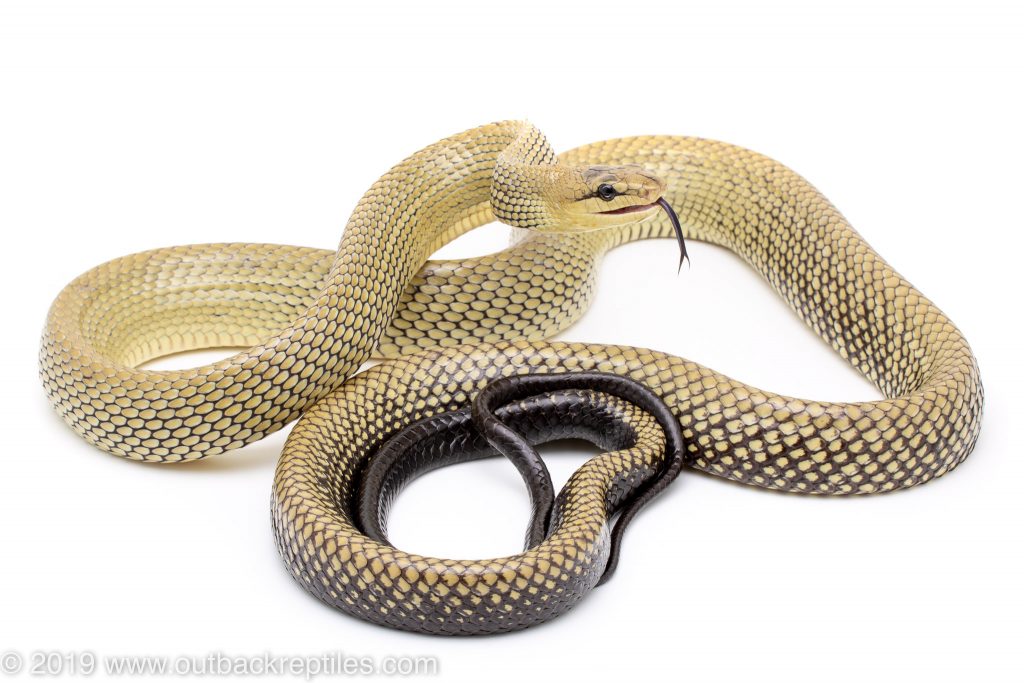
The secret to getting sharp, crisp pictures in your indoor studio, is utilizing flash in your reptile photography. Since many reptiles are shy and secretive, they tend to get stressed out when put under constant bright lighting- such as the lighting necessary for a good photo. To get around this, we can use flashes and strobes to light the scene. This way, the animals can relax under normal or dim lighting and the flash only pops off for 1/10,000th of a second at a time, minimizing the stress put on the animal.
Flash will also minimize motion blur. You may be able to take a sharp looking image at 1/200 of a second under normal lighting, but when zoomed in closely it will become quickly apparent that there is some motion blur around the edges. Or, if not, your ISO setting may be high due to the low available light, which will introduce noise and impact the sharpness of your image. Flash will negate this, as your typical flash duration tends to be much shorter than a thousandth of a second, freezing any possible motion or camera shake and allowing low ISO settings.
4. Try a Unique Angle
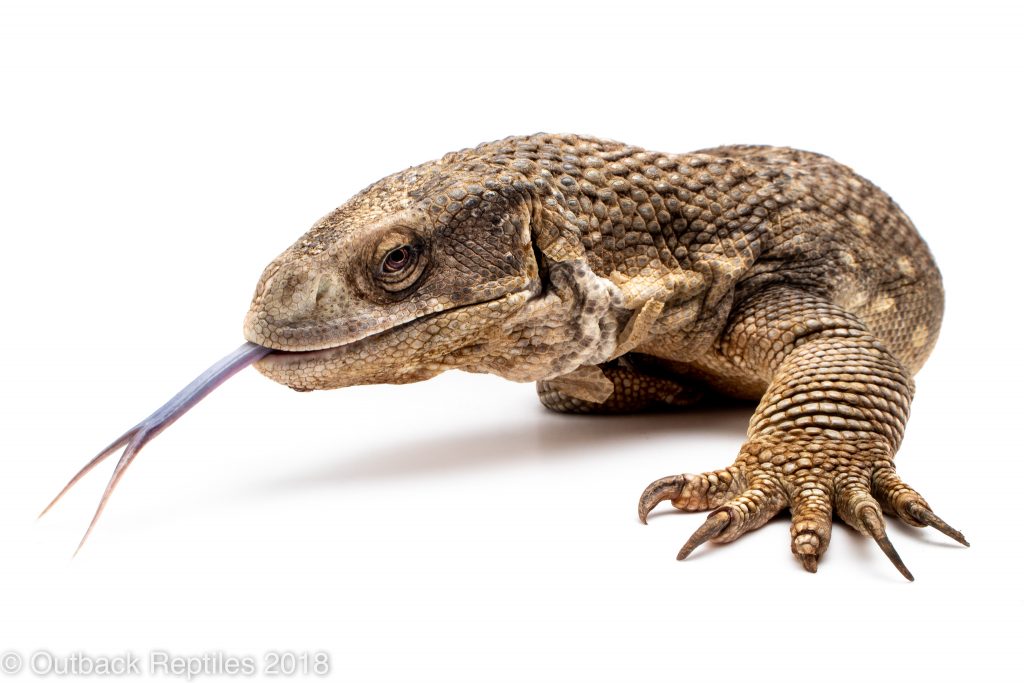
Unless you are SUPER lucky and ended up with an animal that other people haven’t photographed much – then there are probably a million other images of that animal available already. If you want your images to stand out from the crowd, you’ll need to come up with a new concept that hasn’t been done over and over again. We’ve all seen plenty of images of snakes sitting on a white board, from an overhead angle. These images may be great for displaying available reptiles for sale, but they are not especially captivating or artistically valuable.
Try getting a super close macro image of interesting scale patterns, maybe an interesting angle of the eye, or focus on a certain feature that you find unique or interesting.
Don’t limit yourself to standing an arm’s length away, slightly above and in front of your subject. Try getting low and taking a shot at your creature’s eye-level – this can give the shot a much more intimate, up-close feeling. Being on the same level as an animal gives a more personal connection to the viewer.
Also try out other angles like straight above. I’ve gotten some very cool shots showing off the entire profile of geckos, for example, from directly above them.
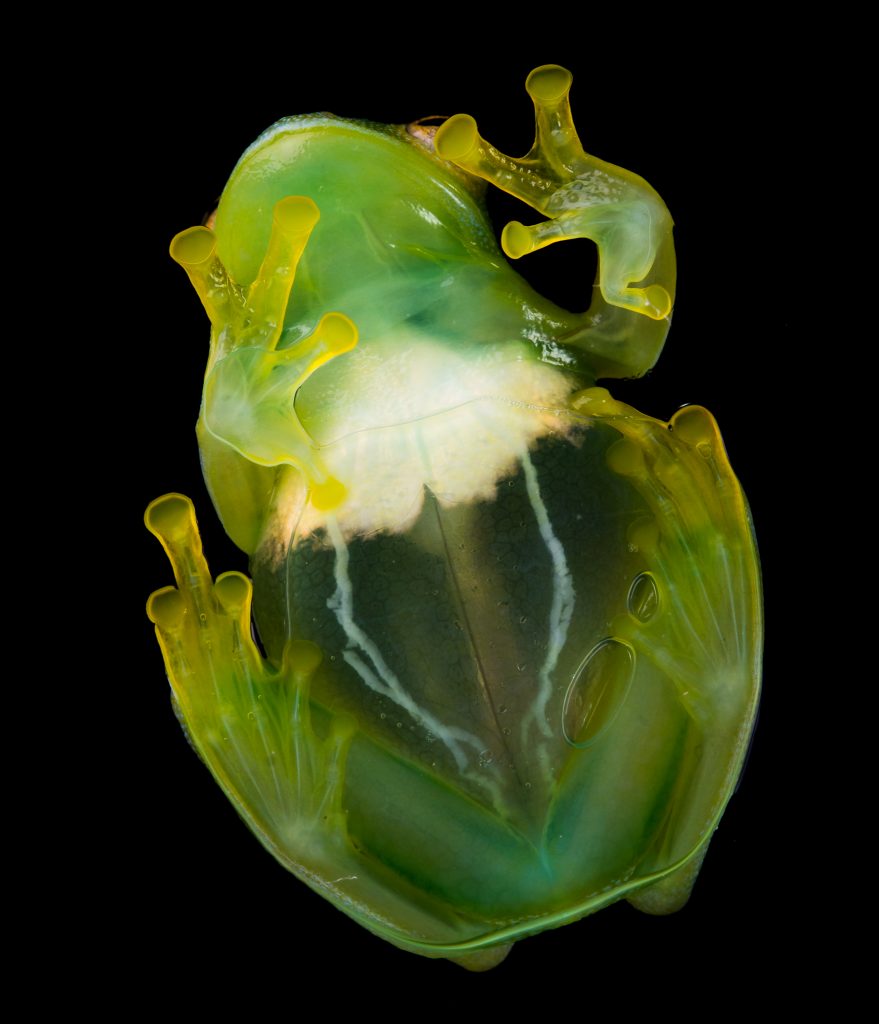 Put your reptile on a pane of glass and shoot it from below- reptiles don’t typically show off their bellies very often, so this could be a great way to showcase an animal in a way that hasn’t been done to death.
5. Use a Sharp Macro Lens
Most DSLR and Mirrorless digital cameras will come with a “kit” lens that has a basic zoom range (often 18-55mm or so), and moderate sharpness. This lens is fine for everyday use but when photographing reptiles or other small, highly detailed creatures, it will eventually begin to show its limitations.
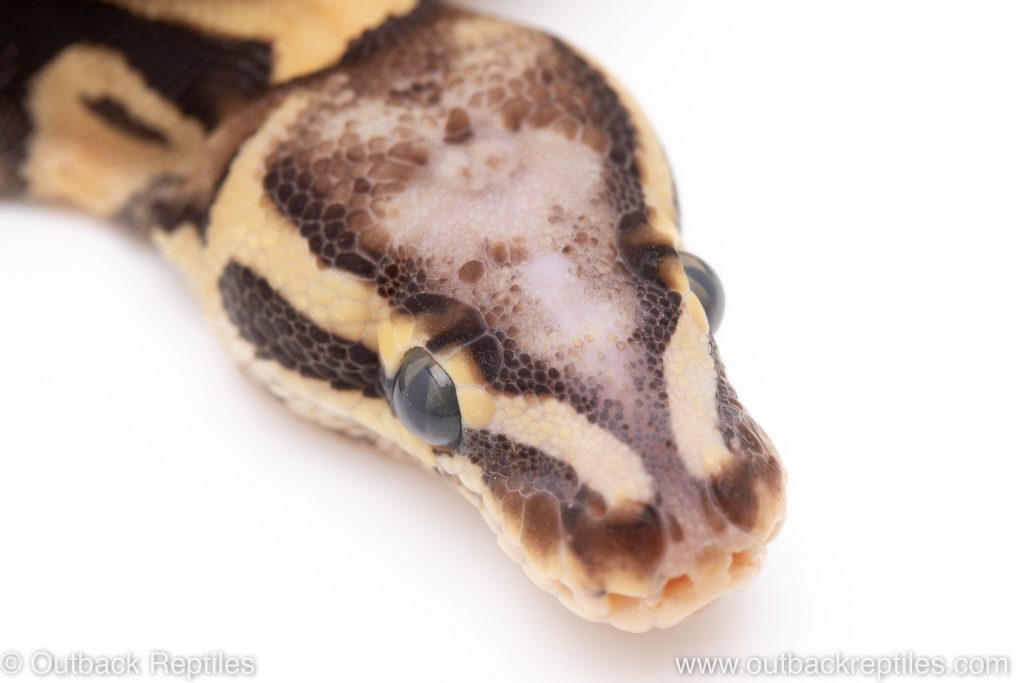
Contrary to popular belief, macro lenses are not only for tiny, microscopic items. A macro lens is any lens meant to focus closely and reproduce magnified images of your subject. Whether you’re taking photos of a tiny frog or you simply want nice sharp images of a larger animal, a macro lens is absolutely the way to go.
Macro lenses tend to be very sharp, but the takeaway is that they might not focus as quickly as non-macro lenses, and they are usually prime lenses (fixed focal length – no zoom). This allows the manufacturer to focus primarily on the lens’ sharpness instead of investing engineering into features that most macro shooters won’t necessarily need.
6. Experiment with Different Focal Lengths
Of course, your bread and butter lens will be a good, sharp, telephoto macro lens (probably a 60, 90, or 100mm). While this workhorse lens will accomplish most of your small animal photography, it never hurts to broaden your horizons a bit and branch out to try alternate focal lengths.
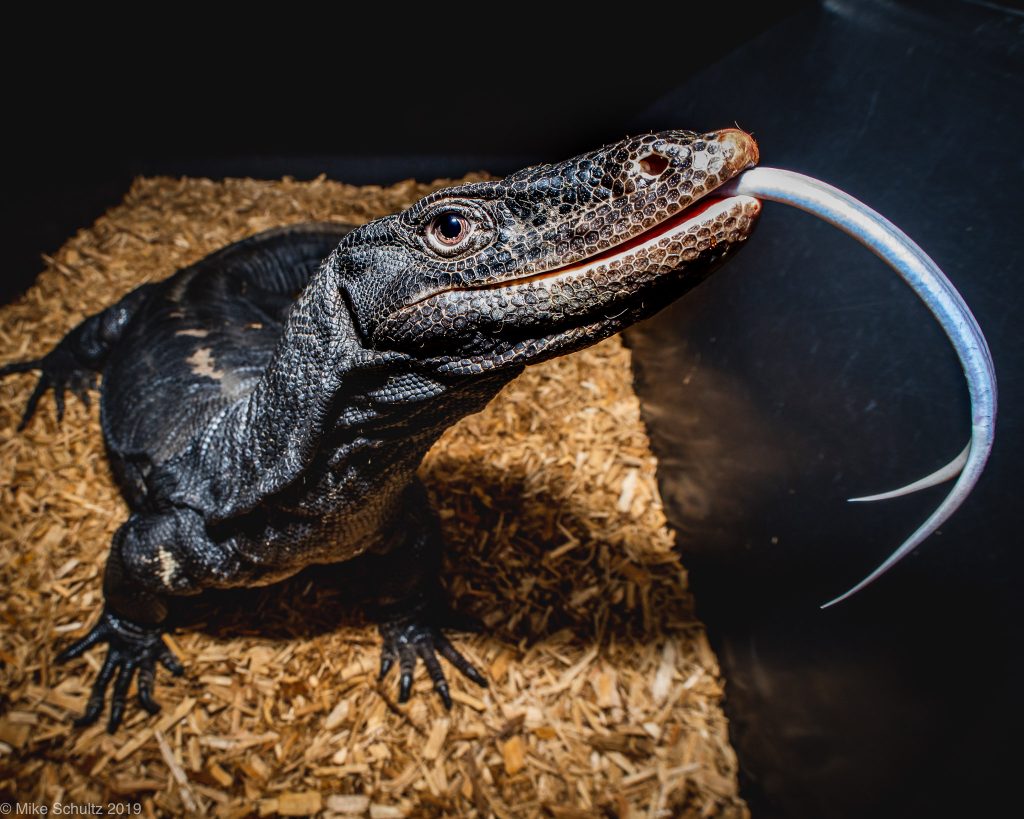
One of my favorite alternative ways to shoot is with a wide angle macro lens. A lens like this will be able to focus up close and preserve small details, but it will still give you a wide enough composition that there will be a bit of environmental context around the subject. I like the Laowa 15mm wide angle macro lens (Buy here on Amazon – Affiliate Link).
If you are hoping to take shots of wild reptiles, remember that some of them will be very difficult to get close to. Consider adding a telephoto lens to your arsenal to get up-close shots of hard to reach critters like basking turtles, arboreal snakes up above you in the rainforest, fast lizards, etc. 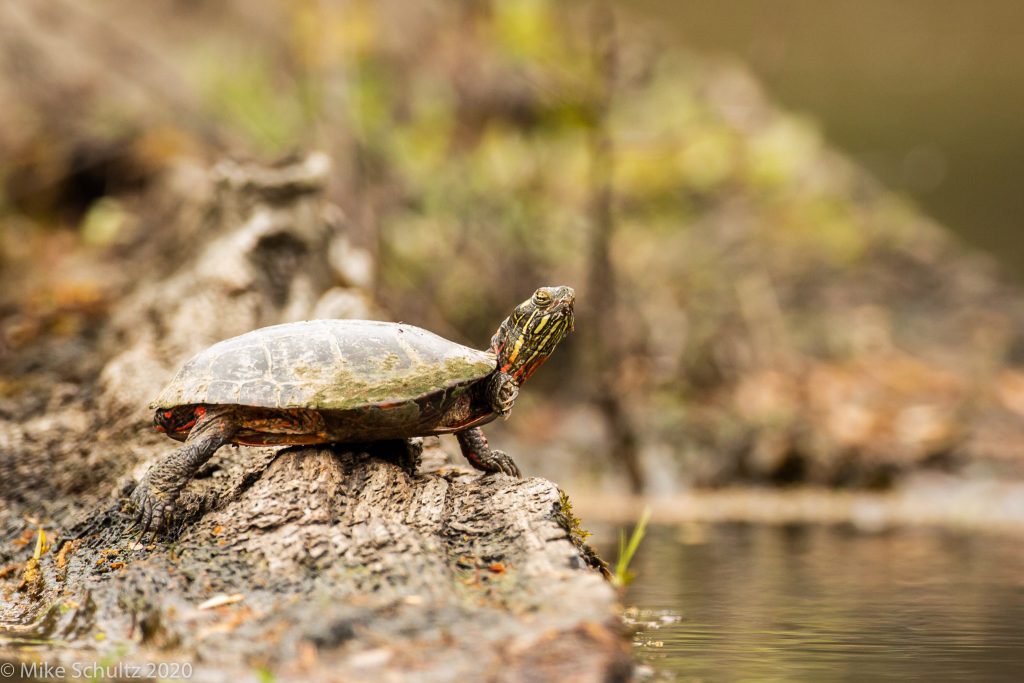
7. Framing & Composition
We can all point our camera at a snake from an arm’s lentgh away, slightly in front and above the level of the animal, focus on its eyeball and hit the shutter button. And while a perfectly centered shot of a reptile looking at the camera may be great to display an animal that is for sale, it’s not going to be a particularly exciting or artistically groundbreaking image. This is where it pays to think outside the box! And don’t just compose your shot as a box with a lizard in the middle.
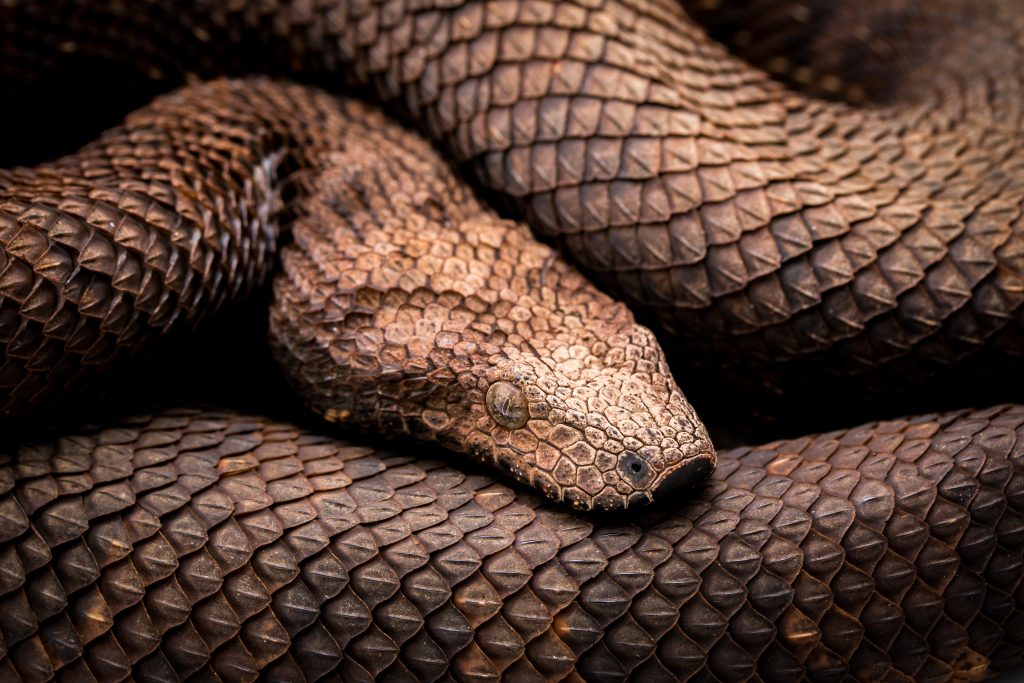 One of my favorite ways to compose images is to fill up the entire frame with my subject – be it a snake, lizard, tarantula, or whatever you’re photographing. I’ll pose my snake in such a way that there’s no background visible, just animal from corner to corner.
Another way to get creative is to do just the opposite – try to compose so that your subject is in a pleasing spot in the shot, with a LOT of background context around it. This is a great way to show off the 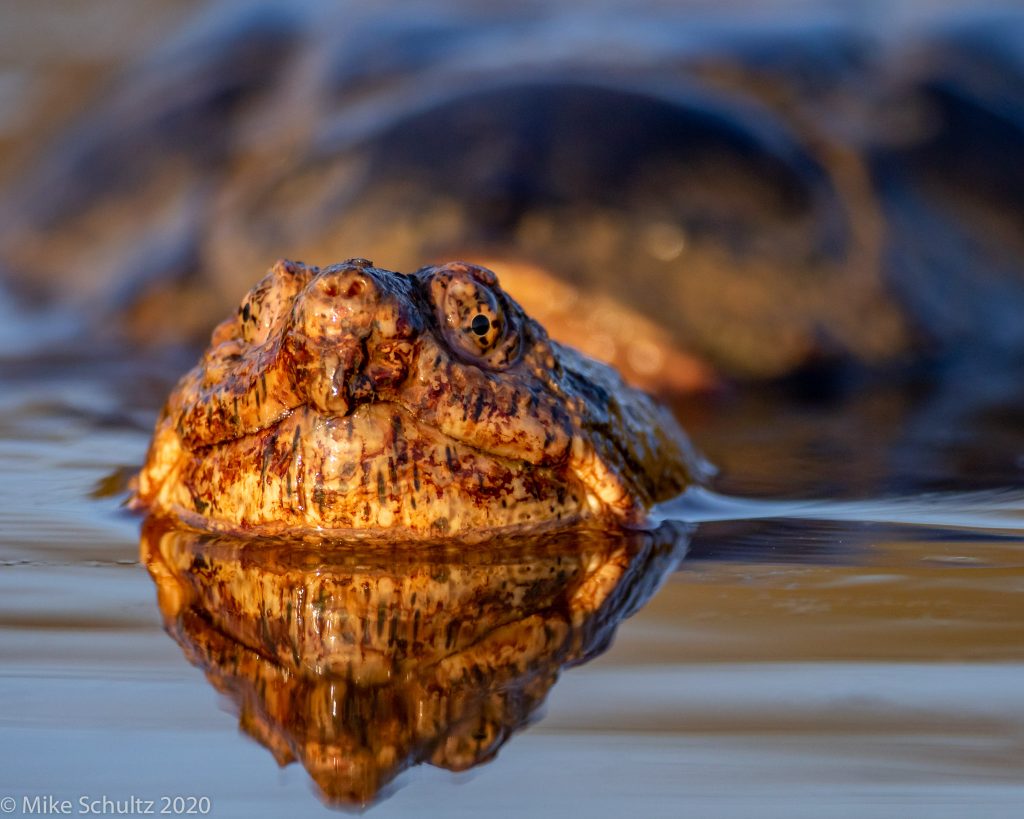 environment a wild herp was found in, for example. Utilize the Rule Of Thirds as a guideline on where to place your subject in the frame – but don’t rely on it as a hard rule! Some of the best photos break all the conventional “rules” of composition.
8. Practice Makes Perfect
This 8th tip may seem like a cop-out, but it’s one of the most important aspects of any flavor of photography. The more photos you take, the better they will be. Utilize these reptile photography tips and tricks above and take every opportunity you can to hone your skills.
I personally never say no to a chance at shooting photos of a new reptile or amphibian. Nor will I necessarily skip photographing an animal simply because I’ve already done it before. Some of my favorite images are animals I have seen and imaged many many times, yet didn’t create that captivating image until I’d taken hundreds of different photos.
Good luck in your reptile photography endeavors!
Mike

